- Thread Author
- #1
AIO Boot Extractor (New Version)
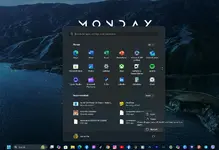
This is a continuation of my previous thread. Dun sa thread na yun is ipinakita ko yung steps kung paano gamitin itong software na ito at kung paano na rin gumawa ng Bootable USB. Mahaba talaga yung thread malamang kasi baka may part 3 pa ito. So dito sa thread na to is kung papaano subukan yung finish product ng AIO Boot Extractor, so huwag na natin pahabain pa, let's continue!Step 1: Need natin i-boot itong Flash Drive na ginawa natin sa previous thread. Paano magawa yun? Dapat alam mo yung boot menu key ng PC na gagawin o ire-repair mo. Kagaya ng gamit ko is Acer Veriton Desktop ang boot menu key nya ay F12 during startup. May mga pagkakataon naman hindi natin ma-access yung boot menu key dahil hindi naka-enable sa UEFI firmware or BIOS. In that case need natin ma-access yung mismong UEFI firmware or BIOS ng PC. Usually Del key or F2 key sa keyboard para ma-access yung UEFI firmware or BIOS. Eh sobrang bilis ng PC na ginagawa mo! hindi mo ngayon mapasok yung UEFI Firmware ngayon, ang pwede mong gawin dyan is while on Desktop, press and hold Shift key then click Restart on Start menu gaya ng picture sa ibaba.
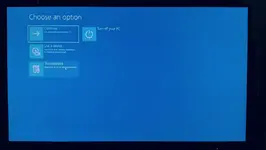
Step 2: After restarting dito ka na mapupunta. Click on "Troubleshoot".
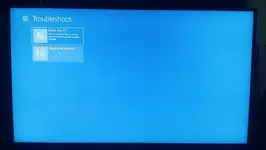
Then "Advance options"
Then select "UEFI Firmware Settings"
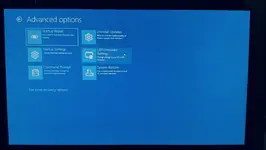
Then click "Restart"
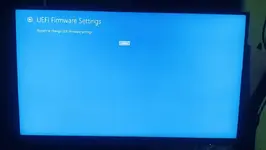
After restarting it will be automaticaly directed to the UEFI Firmware Settings (For newer PC's). Kung yung PC ng client mo is still in BIOS so malamang old PC na yan usually mga core 2 duo pa yan. Hindi mo na kailangan sundan tong steps na to. Del key lang katapat nyan. Pagka-enter mo sa UEFI firmware ng PC i-set mo na yung boot order i-una mo i-boot yung Flash Drive na ginawa natin. I-enable mo na rin yung Boot menu nandyan ka na eh. Kung may mga need pa kayong i-configure sa UEFI firmware gawin nyo na bago nyo i-save and exit, para i-boot yung Flash Drive na ginawa natin.
Step 3: After booting sa Flash Drive ganito yung interface na makikita mo. Bago mo i-select dyan sa "WinPE & Setup" dun ka muna sa "Settings" yung no. 6.
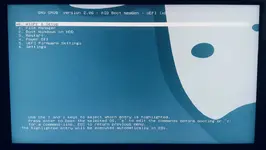
Then select mo sa number 3.
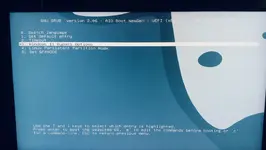
Highlight mo isa-isa then press enter lang para mag-yes sya, naka-default kasi sa no yang tatlo na yan eh. Then after mo ma-yes na lahat balik ka na sa Main menu. Then select mo na yung "WinPE & Setup" kating-kati ka na eh.
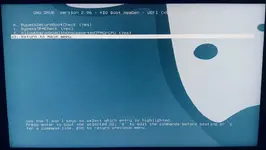
And lastly ganito makikita mo.
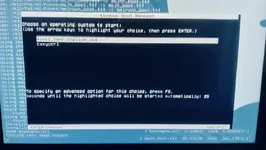
Select mo na kung anoman yung gusto mo gamiting OS Installer na nilagay mo sa Bootable USB mo, like dyan sa picture ginamit ko yung latest build ng Windows 11. Huwag kayo mag-alala since naka-set na yung byp*$s sa settings ng AIO Boot Extractor, dire-diretso na yan sa Setup ng Windows 11, Happy na ang lahat pati si customer na merong P4 na naka Windows 11. Hahahahaha!
